Preface (3D Introduction)
|
|
Preface (3D Introduction) |
www.CAD6.com |
|
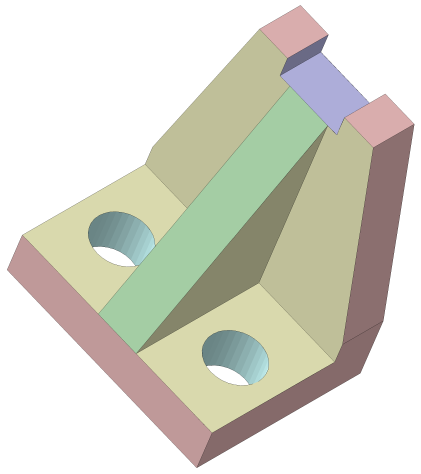
The 3D Part of CAD6studio and CAD6industrie extends the program by more than 100 commands used to create and edit 3D parts and views. It focuses on creating 3D views based on 2D drawings that were either created with CAD6 or imported from different programs. The 3D part is an extension to the 2D construction commands, following our basic principle "Simply good drawing".
We are well aware of those highly specialized 3D systems available on the market which surpass the current and future 3D functionality of CAD6 by far. But for many uses, it is much easier to first do the basic design and construction in 2D and to subsequently create the 3D views only for those parts or details that are either required or demanded by the customer.
Based on some simple examples, this 3D introduction will show you how to efficiently use the functions of the 3D part to get your job done as fast as possible.
An important note on central perspective:
|
CAD6studio Release 2025.0 - Copyright 2025 Malz++Kassner® GmbH